Create Windows 11 VM on Unraid
October 18, 2021The excitement is great: Microsoft has published the first versions of Windows 11. Windows 11 also made headlines because you need relatively new PC hardware so that the operating system starts at all. If you only want to test Windows 11, it is worth creating a virtual machine with Windows 11. This is also possible under Unraid.
Windows 11 Image Download
There is a very convenient way to download a Windows 11 iso directly to the Unraid server. For this you need the Community Applications Plugin. Docker will automatically create a working Windows 11 image in the “Windows” folder on the “ISOS” share. This works even if the actual hardware is not compatible. If the hardware of the server is compatible, the official Windows 11 image should also run.
Now search for Windows 11 in the “Apps” tab and you will see the following. Just install this container. Now it will start downloading a Windows 11 image.
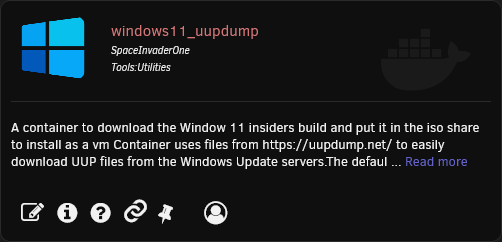
You can also download Windows 11 Insiders directly here:
If you download the Windows 11 image Manuel you have to copy it to the ISOS share of Unraid. To do this, simply mount the share as a network drive.
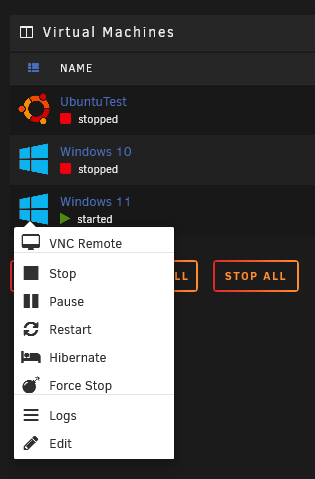
Now we continue on the WebUI of the Unraid server. There we select “ADD VM” under the tab “VMS” and choose Windows 10 as template.
Now we have to assign the cores and the ram and select the size of the virtual hard disk.
After that we select the just downloaded Windows 11 ISO under ISO. With a click on “Create” now we start the VM.
With a click on the VNC button we get access to the VM.
A bash screen is displayed there. Just type “exit” and confirm with Enter. Now we see the Bios. Select the DVD drive and a window with the word “TianoCore” should appear.

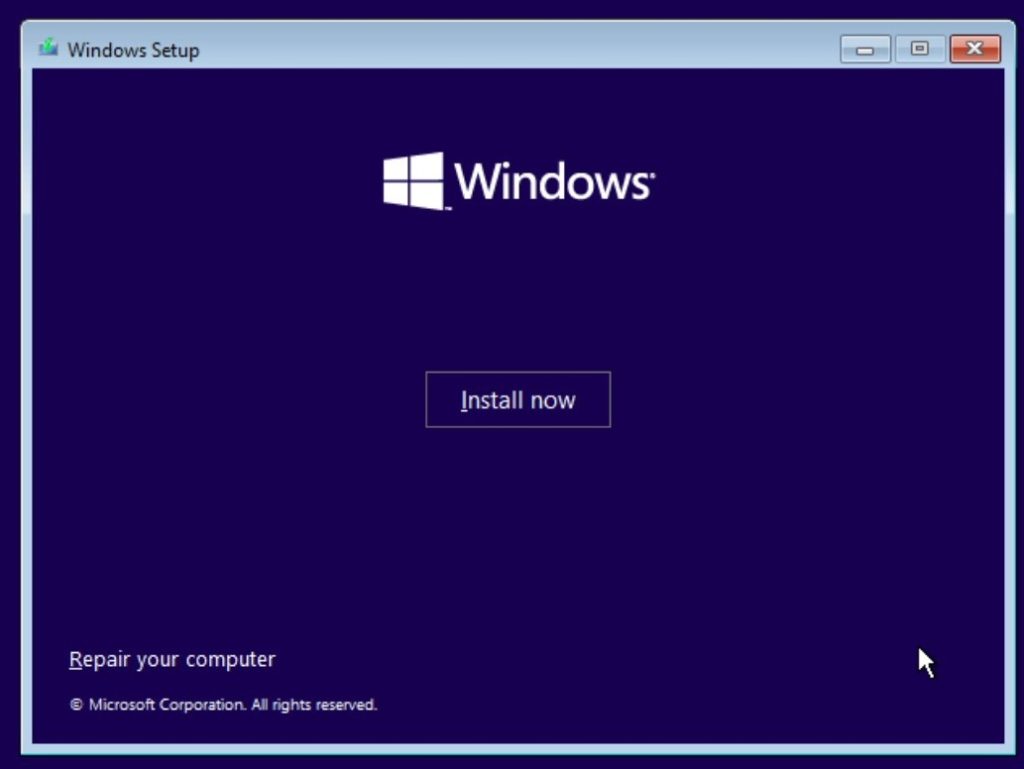
This process can take a few minutes. Now follows the installation wizard of Windows 11, which is more or less the same as for Windows 10.
If we want to select the hard disk, we need to load the appropriate drivers. To do this, we open the CD drive “virtio-win” and there “viostor” -> “w10” -> “amd64” and open.
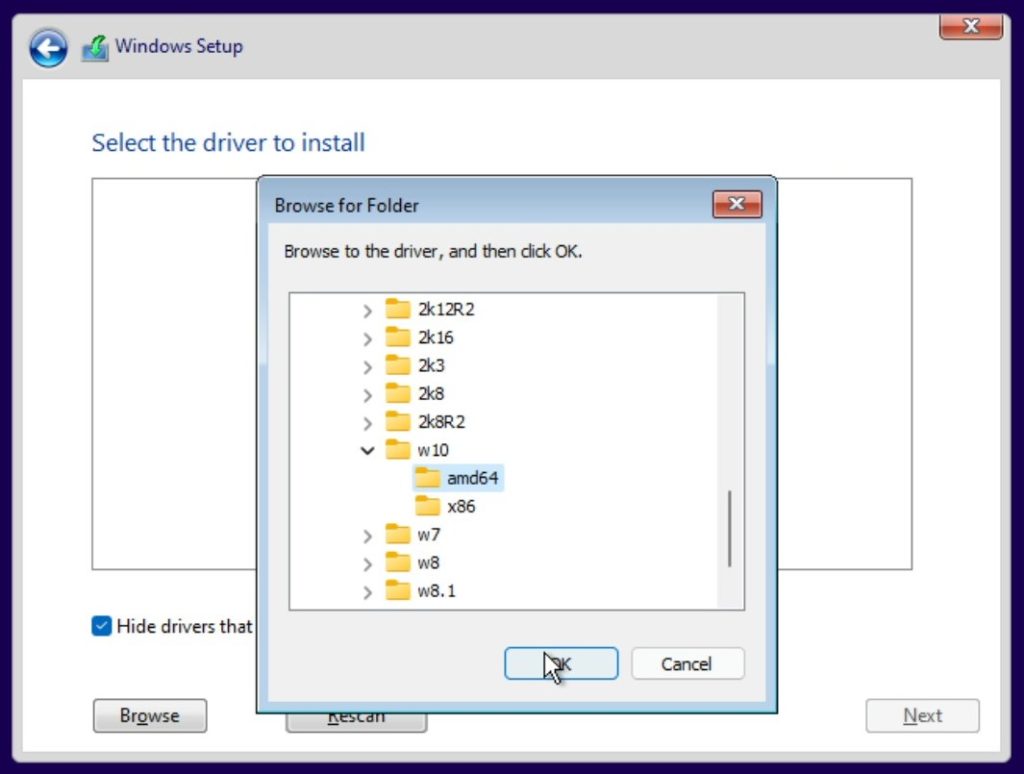
Now we can also select the virtual hard disk and continue the installation process. At the point network we have to continue without network for the time being, the network drivers can also be installed from the “virtio-win” folder.

Related posts:
 Install Minecraft Server on Unraid
 Set up Wireguard® VPN on Unraid
 unRaid Server with ZFS only
 The Appstore for Unraid: Install community applications plugin
 Install ARK: Survival Evloved Server on Unraid
 Unraid Usb Stick recommendations
 Install Unraid
 DuckDNS Create free subdomain on Unraid
 Build a Unraid Server
 Installing a MacOS VM on Unraid – Virtualized Mac
 Install Mozilla Webthings Gateway at Unraid
 Unraid Hardware Requirements
 Mount USB hard disks in Unraid
 Ubuntu Server NginxProxyManager Docker install
 Install Docker Engine on Ubuntu
 Does Unraid need a graphics card (GPU)?