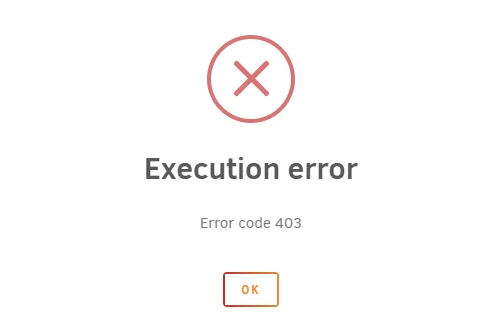
ometimes it can happen with Unraid that some or all Docker containers are stopped or simply cannot be started anymore. Mostly the error: Execution Error 403 appears. Often the error is solved by a restart, but if error 1 applies, this will only be short-lived. Therefore check error number 1 in any case.

1 . Cache (SSD) full
If the cache, which is an SSD in the best case, is full it can come to the mentioned “Execution Error 403”. How full the cache is, you simply check on the “Main” tab. If 0 bytes are free, you have to delete some files, or install another or larger cache SSD. As a quick fix, you can copy the files that might be stored on the cache to the HDD array by clicking on the “Move” button also under “Main” or delete some unneeded Docker containers (and their folders via FTP!).
2. Too large log files
If there are repeated errors in a container or if there is simply too much logging, it can happen that the memory provided for this purpose is full.
Just type in the terminal the command: -ah /var/lib/docker/containers/ | grep -v “/$” | sort -rh | head -60
Execute and delete the largest files.
3. corrupt Docker image
It can happen that the Docker image goes “kaput”. In this case, only one thing helps: reinstall. This is actually quite simple and works even without backup or data loss.
Step 1: Delete the previous image file
- Log in to your system via the unRAID webGui (http://tower or http://tower.local from Mac by default).
- Navigate to the Docker tab.
- Stop the Docker service if it is not already started.
- Click the checkbox next to the Docker image that says Delete Image File.
- Click the Delete button after clicking the checkbox to delete the image (this may take some time depending on the size of the image).
- After the file is deleted, you can simply re-enable the Docker service and the image will be created in the same location with the same name.
Step 2: Download your applications again
- For newly launched Docker services, click Add Container.
- In the Template drop-down list, select one of your previously downloaded applications at the top of the list under User defined templates.
- If none of your volume assignments or port assignments have changed, you can immediately click create to start the download process.
- Repeat this process for each application you want to download again. Turn on autostart for each application after downloading (only if desired).
